What are the capture modes and when does each fire?
Snapshot fires twice per trade — once when the trade appears, once when it closes. Video marks the entry when the trade appears and cuts the finished clip a set number of seconds after the close. Neither fires at all unless Auto-capture on trade fill is ticked.
Capture is driven by your journal, not by your trading platform. The desktop companion watches your trades table and reacts to two events.
A new trade row appears — from a connected broker, a CSV import, or a trade you typed in by hand. That is the entry capture.
An existing trade's exit time changes from empty to set — the trade has closed. That is the exit capture.
This is why capture works identically no matter how the trade reached your journal. It is also why a CSV import of last week's trades will fire captures of whatever is on your screen right now: the trigger is the row arriving, not the fill happening. Import history before you turn capture on, or expect a handful of useless stills.
In Snapshot mode, each of those two events takes one still of your selected monitor and attaches it to the trade.
In Video mode, the entry event marks the entry point in the rolling buffer and the exit event starts the cut. The companion waits out your configured post-exit tail, assembles the pre-roll and the trade recording into a single file, and saves it. The entry event also takes a still, and the exit event takes the one that goes to the cloud.
Each trade is captured once per event per session. Broker sync services and other open windows can re-deliver the same change more than once; without that guard a single trade collected ten copies of the same screenshot. If a capture genuinely fails, the guard is released so a retry can happen.
Failures queue rather than disappear. An upload that fails is written to a retry queue and drained the next time the app regains focus or the network comes back. The status row at the top of Screen capture says queued for retry when this has happened.
Step by step
- Open Settings and choose Capture in the left sidebar, under App.
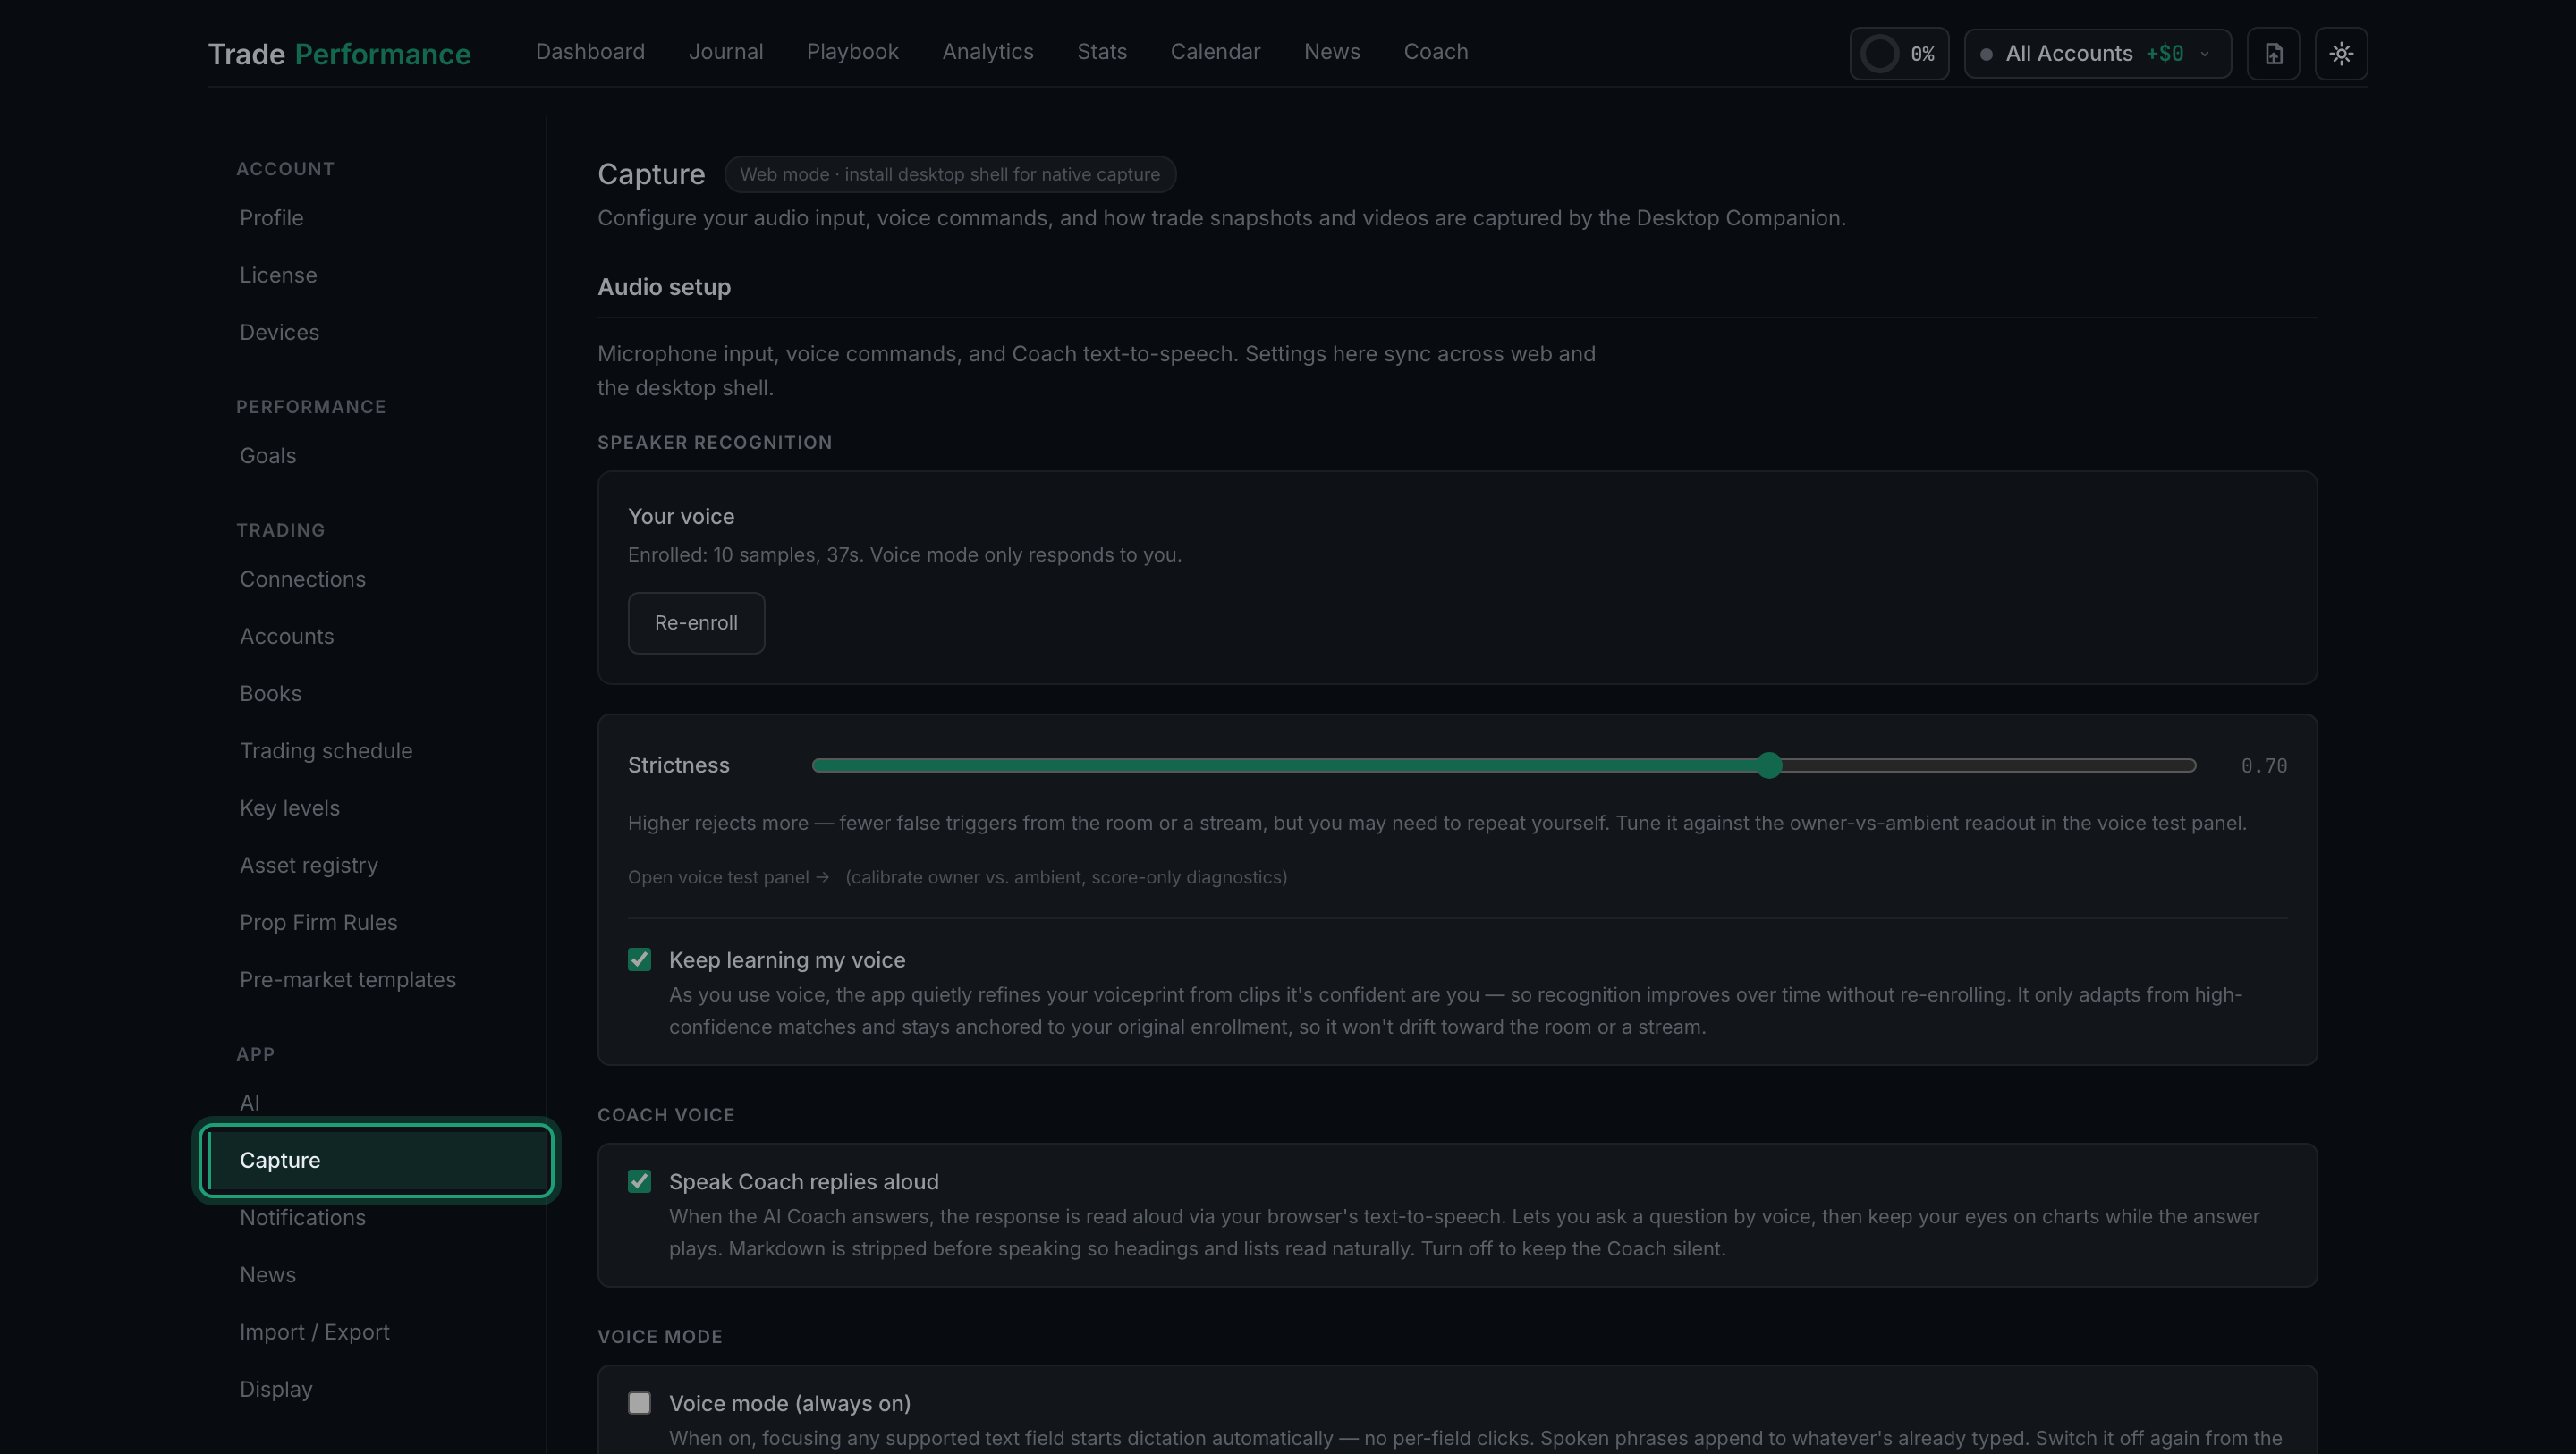
the Settings sidebar with Capture ringed, in the App group below Trading - Scroll past Audio setup to the Screen capture heading.
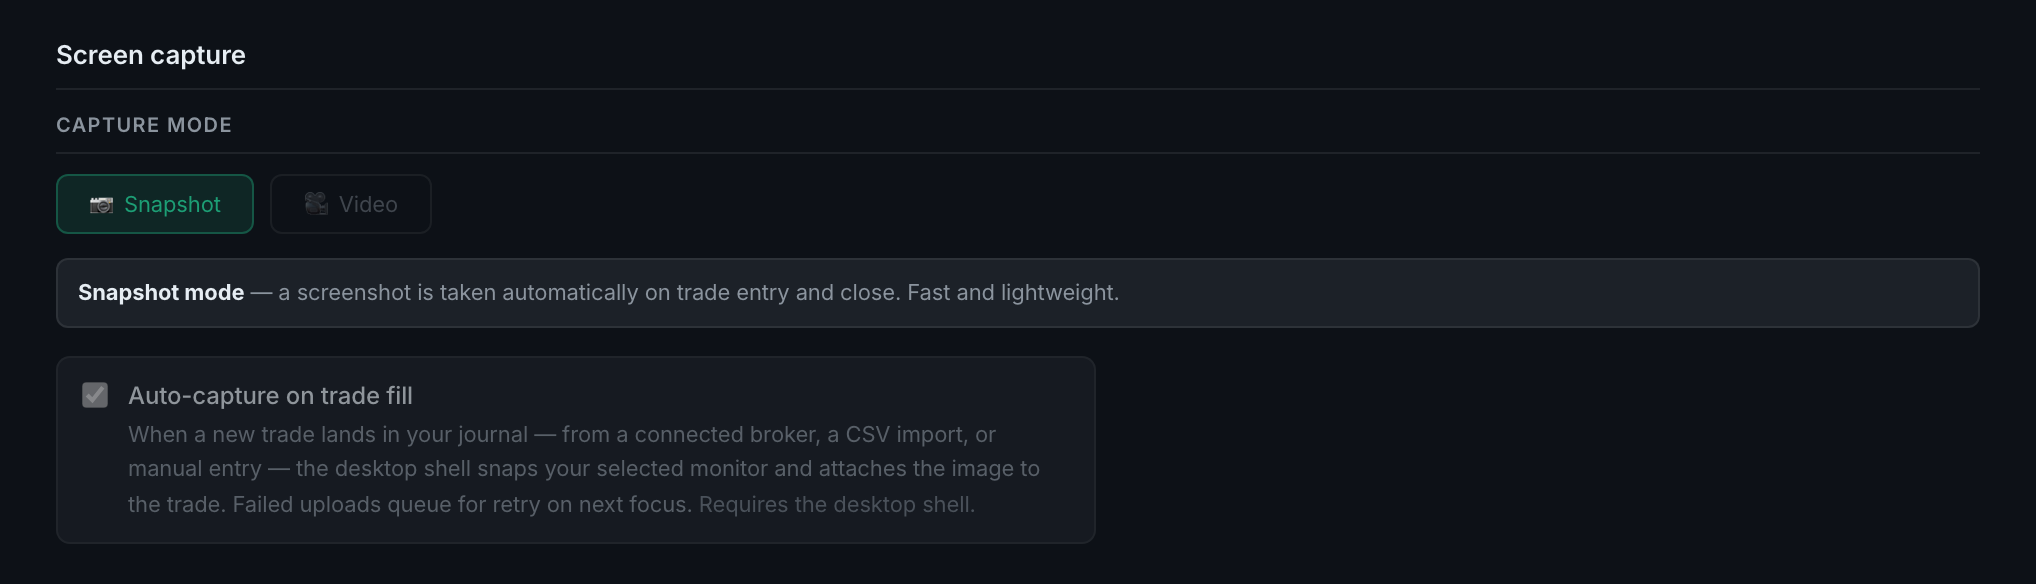
the Screen capture section: the heading, the capture mode row and the auto-capture toggle beneath it - Choose your mode. 📷 Snapshot is the default and is the one to start with. 🎥 Video is dimmed unless you are in the desktop app.

the Capture mode row: Snapshot selected, Video dimmed, and the description of the selected mode below - Check that Auto-capture on trade fill is ticked — it is on by default, and nothing fires while it is off. In a browser the checkbox is greyed out and cannot be changed; it becomes editable in the desktop app.

the Auto-capture on trade fill toggle, dimmed in the browser with the note that it requires the desktop shell - Pick the monitor your platform runs on, under Screen selection.

Screen selection showing the single-display notice and the Detect all displays button - Click Save capture settings at the bottom of the page.

the Save capture settings button at the foot of the Capture tab