Where do I import a CSV?
In Settings → Import / Export. There is no import button on the Journal itself. Drop the file in, check the column mapping it has worked out for you, then press Import.
Importing is how years of history arrive at once, and it is the fastest way to make the Analytics pages worth looking at on your first day.
Any platform that can export a CSV will do. The importer does not need the file in a particular shape, because you tell it what each column means before a single row is written.
It recognises fourteen platforms from their column headings alone and fills the mapping in for you: NinjaTrader, Tradovate, thinkorswim, ATAS, Sierra Chart, Quantower, Bookmap, TradingView, Rithmic R|Trader, Apex Trader Funding, TopStep, Earn2Trade Helios, MetaTrader 4 and MetaTrader 5. If yours is not one of those, nothing is lost — it reads your headings and guesses, and you correct whatever it got wrong.
Four things have to be mapped before the Import button will turn on: the symbol, the trade date, the entry price, and the side — and a timestamp column that carries the date satisfies the trade date, so you rarely have to map it separately. Everything else is optional, and the list of what it will take is longer than most people expect. Beyond prices, quantity and fees it can carry your note, what you would do differently, the mistake tag, the emotion tag, the Playbook setup name, stop and take-profit, CVD bias, VWAP position, order flow, three entry levels, snapshot URLs, and any custom column you have already made.
The one decision worth understanding beforehand is import mode, because getting it wrong produces a trade list that looks nothing like the day you actually traded.
- Fills means one row per fill. Scale in three times and out twice and your platform wrote five rows for one trade. This mode collapses them back into a single trade by finding where the position returns to flat. NinjaTrader, Rithmic and Sierra Chart export this way.
- Completed trades means one row is already one trade, which is what Tradovate and most prop firm dashboards produce.
- Auto-detect is the default and picks between the two by looking at the file. It tells you what it decided — the button reads "→ will run as Fills" or "→ will run as Completed trades" — so you are never guessing.
Leave it on Auto-detect and read the line underneath. Five rows arriving as five trades when you took one is the symptom of Fills mode not being on.
Step by step
- Open Settings, then choose Import / Export from the menu down the left.
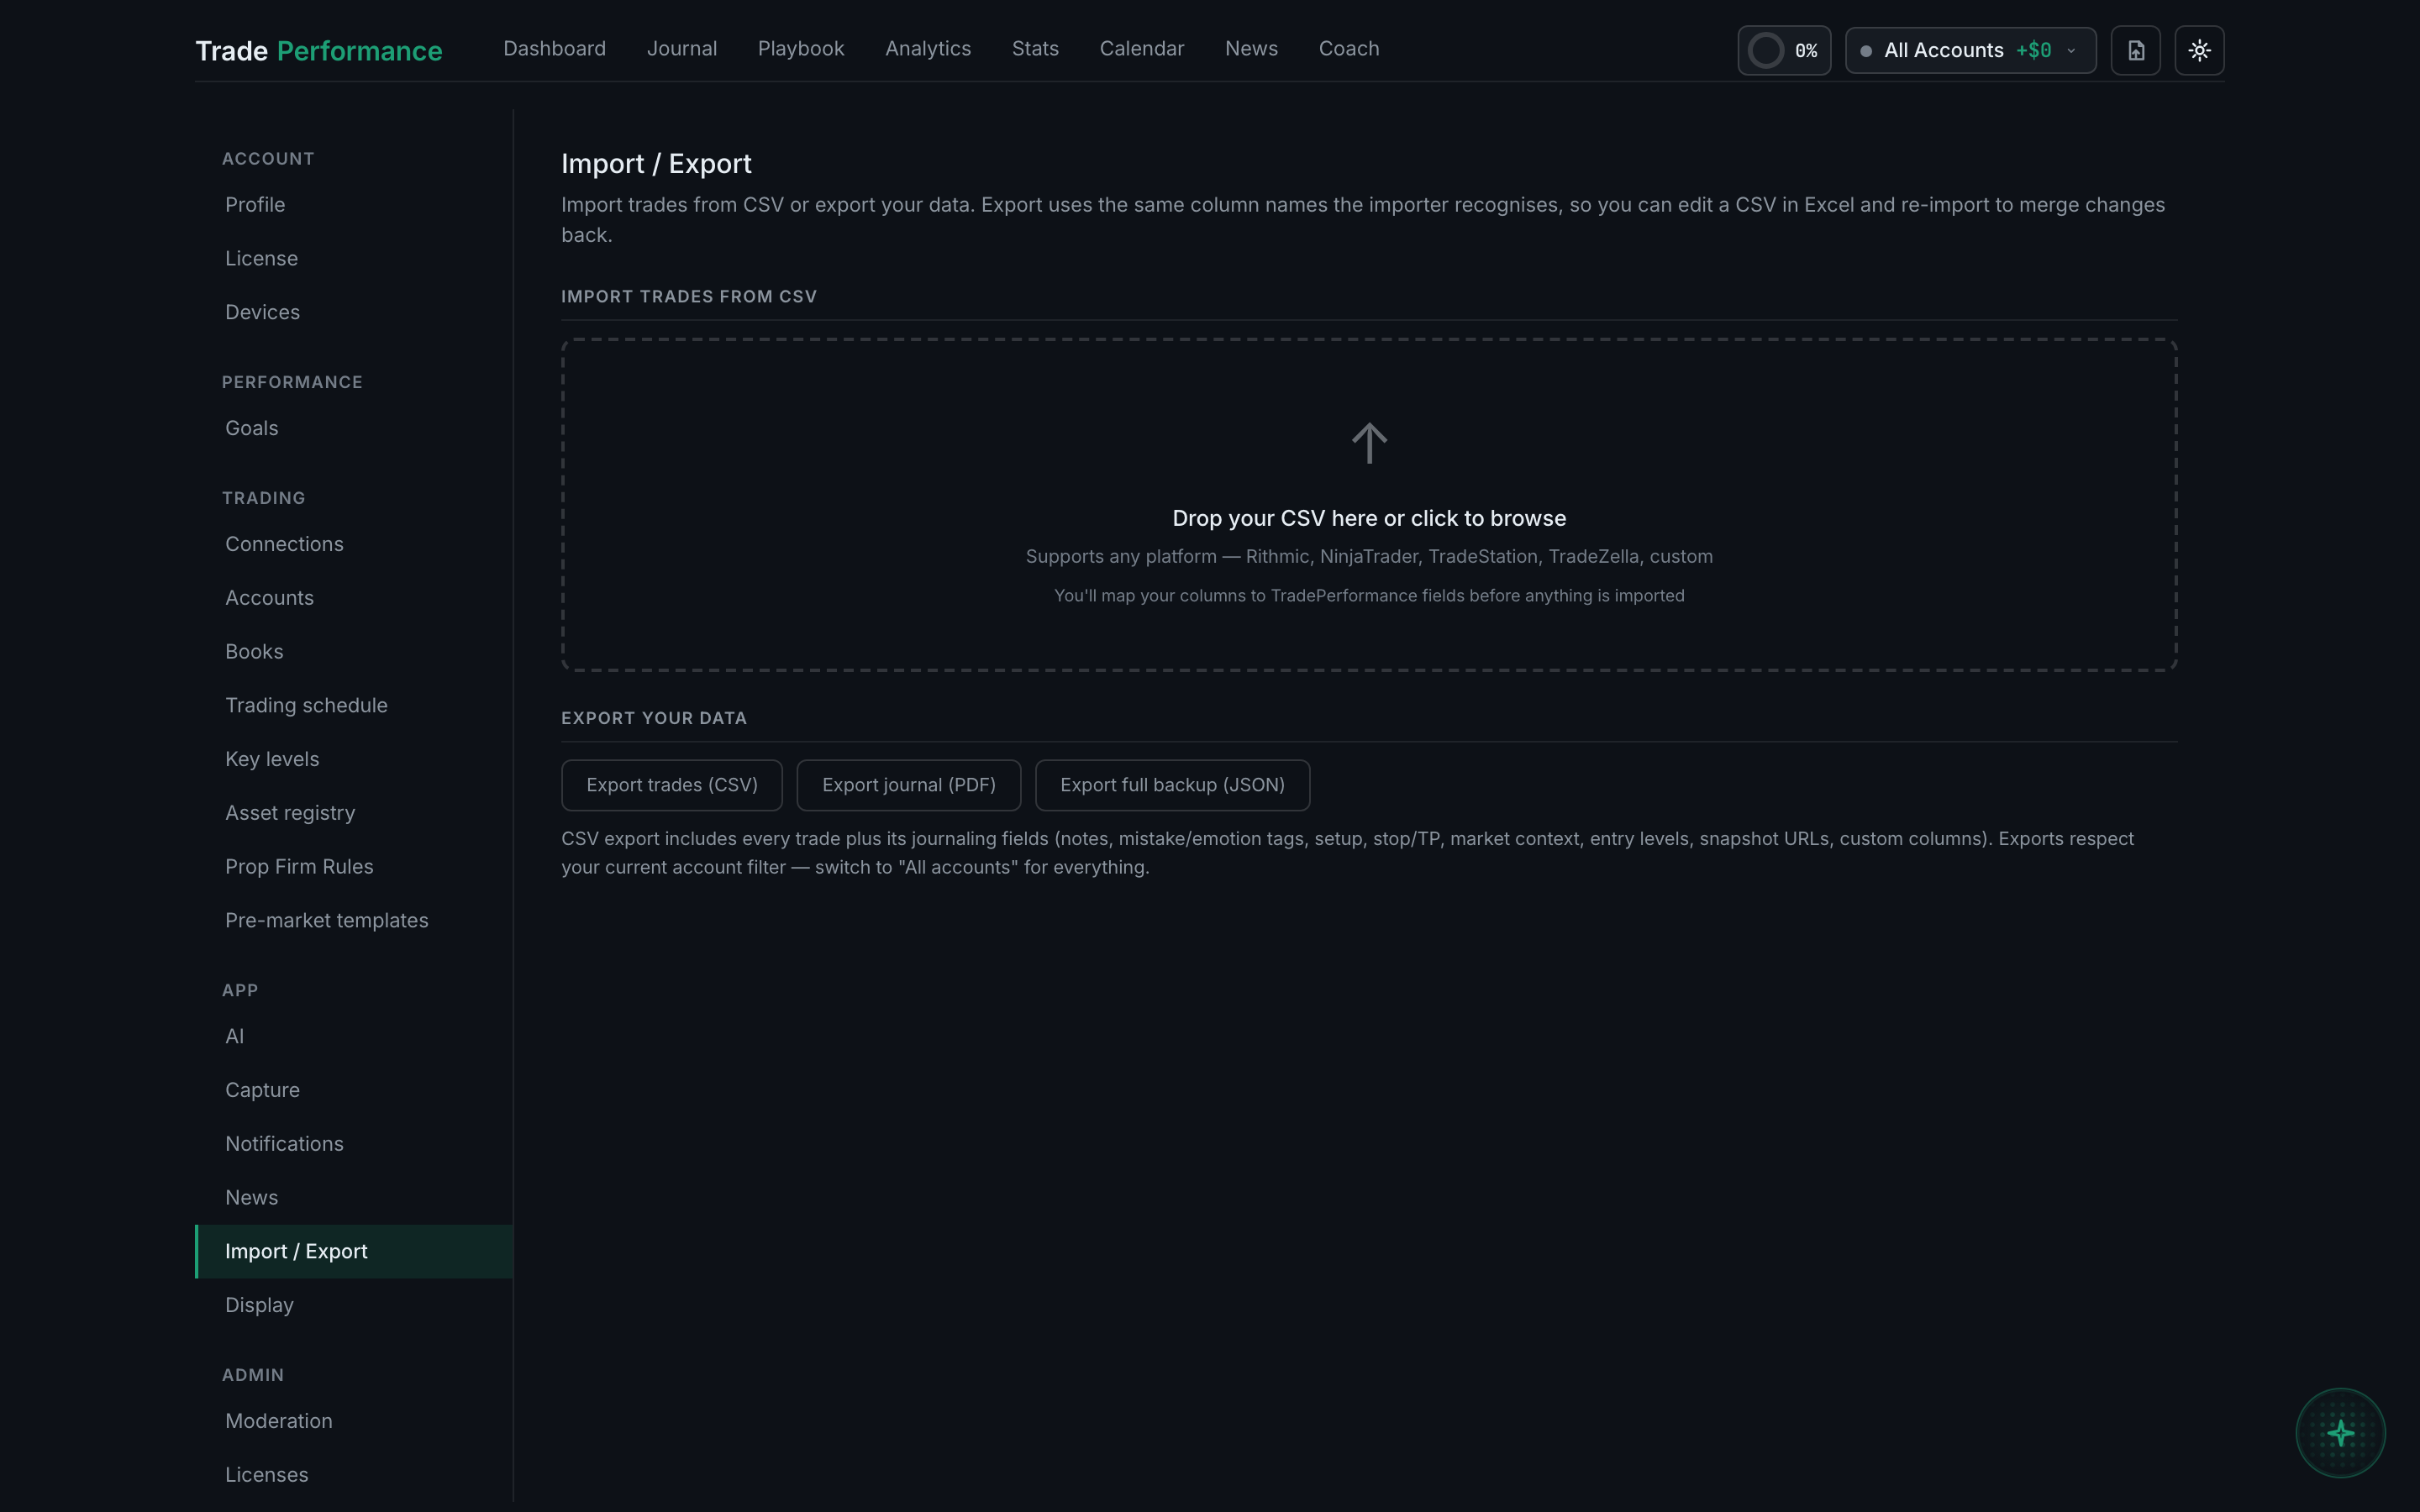
the Import / Export tab in Settings - Drop your file onto the dashed area, or click it to browse. Both
.csvand.txtare accepted. Nothing is uploaded anywhere — the file is read in your browser.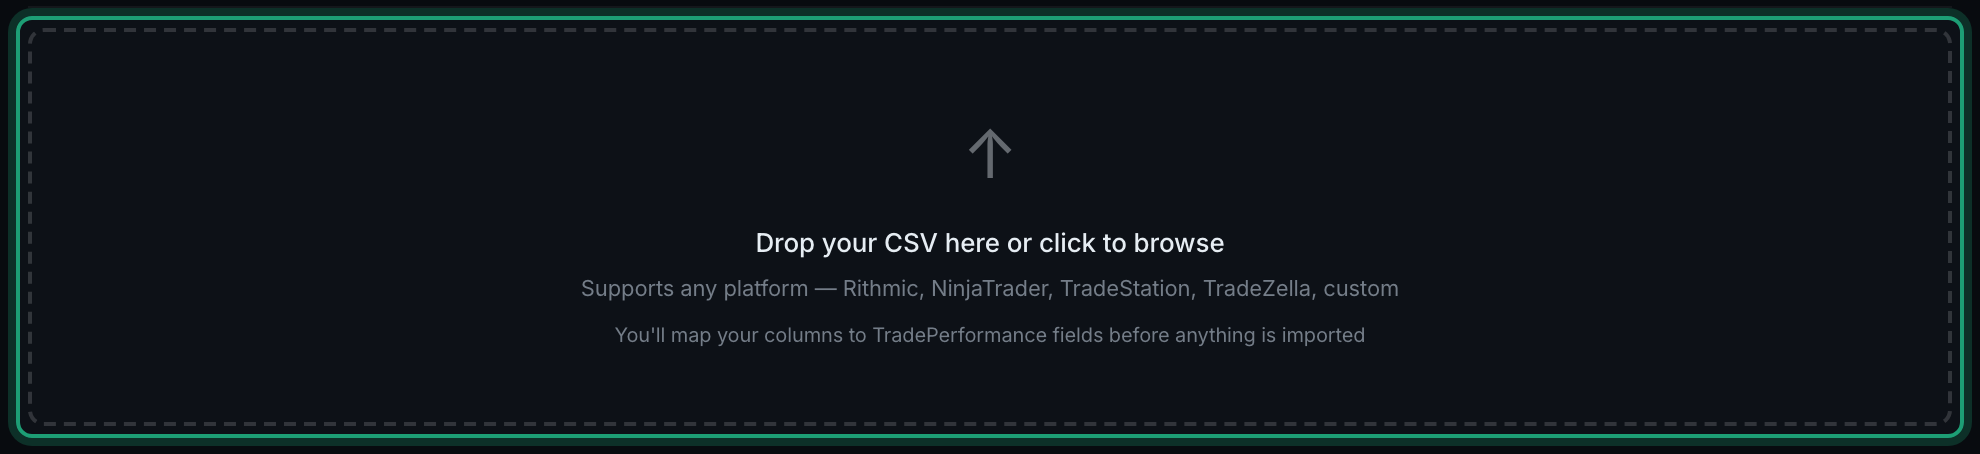
the CSV drop zone on the Import / Export tab - The screen changes to the mapping view. If your platform was recognised, its name is already selected in the Platform preset row, an auto-detected badge appears beside it, and the mapping below is filled in. Pick a different preset if it guessed wrong, or Auto (generic) to fall back to reading your headings. Whichever preset is selected shows the export path underneath it — for Tradovate, "Performance → Fills → Export" — which is worth reading if you have not produced the file yet.

the platform preset row with a preset selected - Above the mapping there is a preview table of the first rows of your file, so you can see what you are actually working with. Below it, under Map columns — auto-detected, adjust if wrong, every heading in your file appears with an arrow and a dropdown naming the TradePerformance field it will be written to. Anything you do not want is set to — Skip this column —.
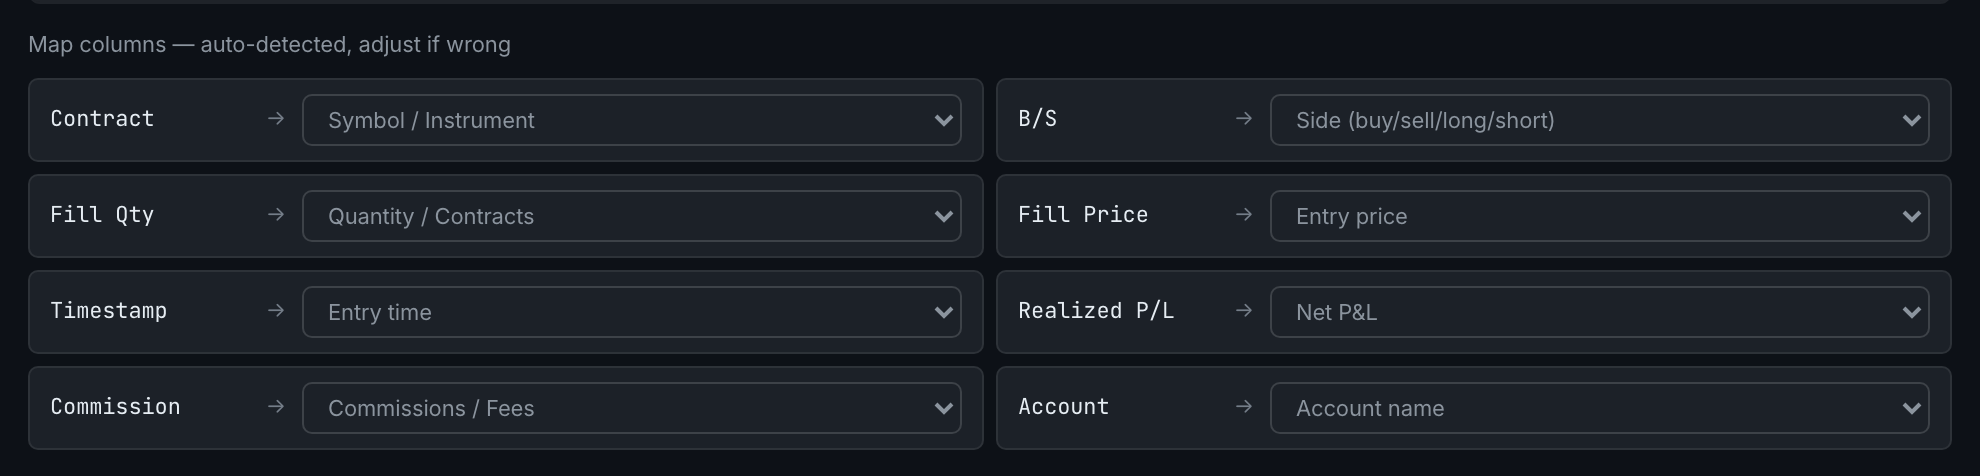
the column mapper, each CSV heading beside the field it maps to - Anything your platform exports that the app has no field for can go to Custom column (saved as-is). Make the custom column first if you want the values to land in a column you can filter on — see "How do I add, fill in and delete a custom column?".
- Check Import mode. Auto-detect is fine for most files and says underneath itself which way it is about to go. Override it only if that reads wrong.

the Import mode buttons, with Auto-detect showing what it decided - Choose where the trades go. Import into account files everything into the account you pick. Tick Auto-discover accounts from CSV instead and it reads each row's account name, creates the accounts it finds, and works out the prop firm, account size and phase from the name — the account you picked then acts as the fallback for rows that name none. If you keep Books, Import into book decides which body of work this history belongs to.
- Optionally tick Auto-tag emotions on imported notes. It reads each imported note and writes an emotion tag from what you wrote. It calls your own AI provider once per note and is billed to your key, so leave it off if you are importing thousands of rows.
- Check the four required fields are mapped: symbol, side, entry price and the trade date. A single timestamp column counts for both the entry time and the date, so a preset that maps your Timestamp column to Entry time has satisfied the date as well. If the green button is still greyed out, the amber notice above it names which of the four is missing.
- Click the green Import _n_ trades → button. The count in the button is how many rows it read, so if that number is nothing like the number of trades you took, your file is fills rather than completed trades — go back to step 6.
- A summary line reports what happened: how many were imported, how many were matched & merged into trades already in the app, how many were duplicates skipped, how many are still open, and — in Fills mode — how many fills were aggregated. Anything it could not read is listed underneath as an issue, row by row.
- Click Refresh to see trades and the Journal fills in.
Running the same file twice is safe. The importer recognises a trade it has already seen and skips it rather than creating a second copy, which is why the summary reports duplicates separately from imports.
The same tab exports. Export trades (CSV) gives you every trade plus everything you journalled on it: notes, emotion and mistake tags, setup, stop and target, market context, entry levels, snapshot links and any custom columns. Export journal (PDF) produces a readable document, and Export full backup (JSON) takes everything.
Two things about exporting are worth knowing before you rely on it.
Exports respect whatever account filter you currently have on. If the top bar is set to one account, that is all you get. Switch to All accounts first if you want the lot.
The CSV export uses the same column names the importer expects, which makes a round trip possible: export, edit in a spreadsheet, re-import, and your changes merge back rather than creating duplicates. That is the practical way to fix a batch of trades — bulk-setting a setup name across fifty rows, say — without clicking through them one at a time.