How do I attach screenshots and clips to a trade?
The Snapshot tab. Upload images yourself, or let captures arrive automatically, then switch between them with the numbered tabs.
Snapshot is the trade's evidence locker. Anything visual attached to the trade ends up here, and it can arrive three different ways.
- Upload it yourselfDrag in a JPEG or PNG you screenshotted while trading.
- Desktop companionCaptures at entry and exit on its own, if you are running it.
- WebhookPushed in from your trading platform when you press the hotkey you bound there. This one is not automatic: it fires on your keystroke, not on the fill.
Each item carries a small badge telling you where it came from and what moment it covers. The first three are stills; the last two are video — worth knowing before you go looking for footage of a trade that only ever produced photographs.
- ENTRYstill. Captured as you entered
- EXITstill. Captured as you exited
- WEBHOOKstill. Pushed in from your trading platform
- TRADE CLIPvideo. Covers entry through exit
- PRE-TRADEvideo. Roughly the last 30 seconds before you entered
Entry and exit stay stills even when you are recording video. In Video mode the entry event takes its still and marks the entry point in the rolling buffer, and the exit event takes the still that goes to the cloud while the clip is being assembled. So a video trade normally carries both — two photographs and a film of the same trade.
PRE-TRADE is the interesting one, and it exists because the most useful footage is usually from just before you clicked. It is recorded continuously into a rolling buffer and only kept when you actually take a trade.
Why a capture and a webhook look so different. They photograph different things, and the difference is not a setting you have got wrong.
- Capture photographs a displayThe whole monitor you nominated, not one window. If your four timeframes sit in one template on that screen, all four are in the picture. This is the point of it: the reason you took the trade is rarely all in one chart, and a shot of the 1-minute alone throws away the context you will want three weeks later.
- A webhook photographs whatever your trading platform sendsIn practice a single trading window, framed by the platform rather than by you. Tidier, narrower, and no help at all for reconstructing what the rest of your screen was showing. It also only happens when you press the hotkey; nothing arrives on its own when a fill lands.
Neither one replaces the other. If you want the multi-chart view, arrange the timeframes onto one display and point capture at that display; there is no separate multi-chart setting to switch on. Screen selection and the capture modes are covered in their own section.
One practical note on video: clips recorded locally by the desktop companion are stored on your machine, not uploaded. They play inside the desktop app. Opening the same trade in a web browser will not play a local clip, because the browser has no access to that file.
Step by step
- Open a trade and click the Snapshot tab.
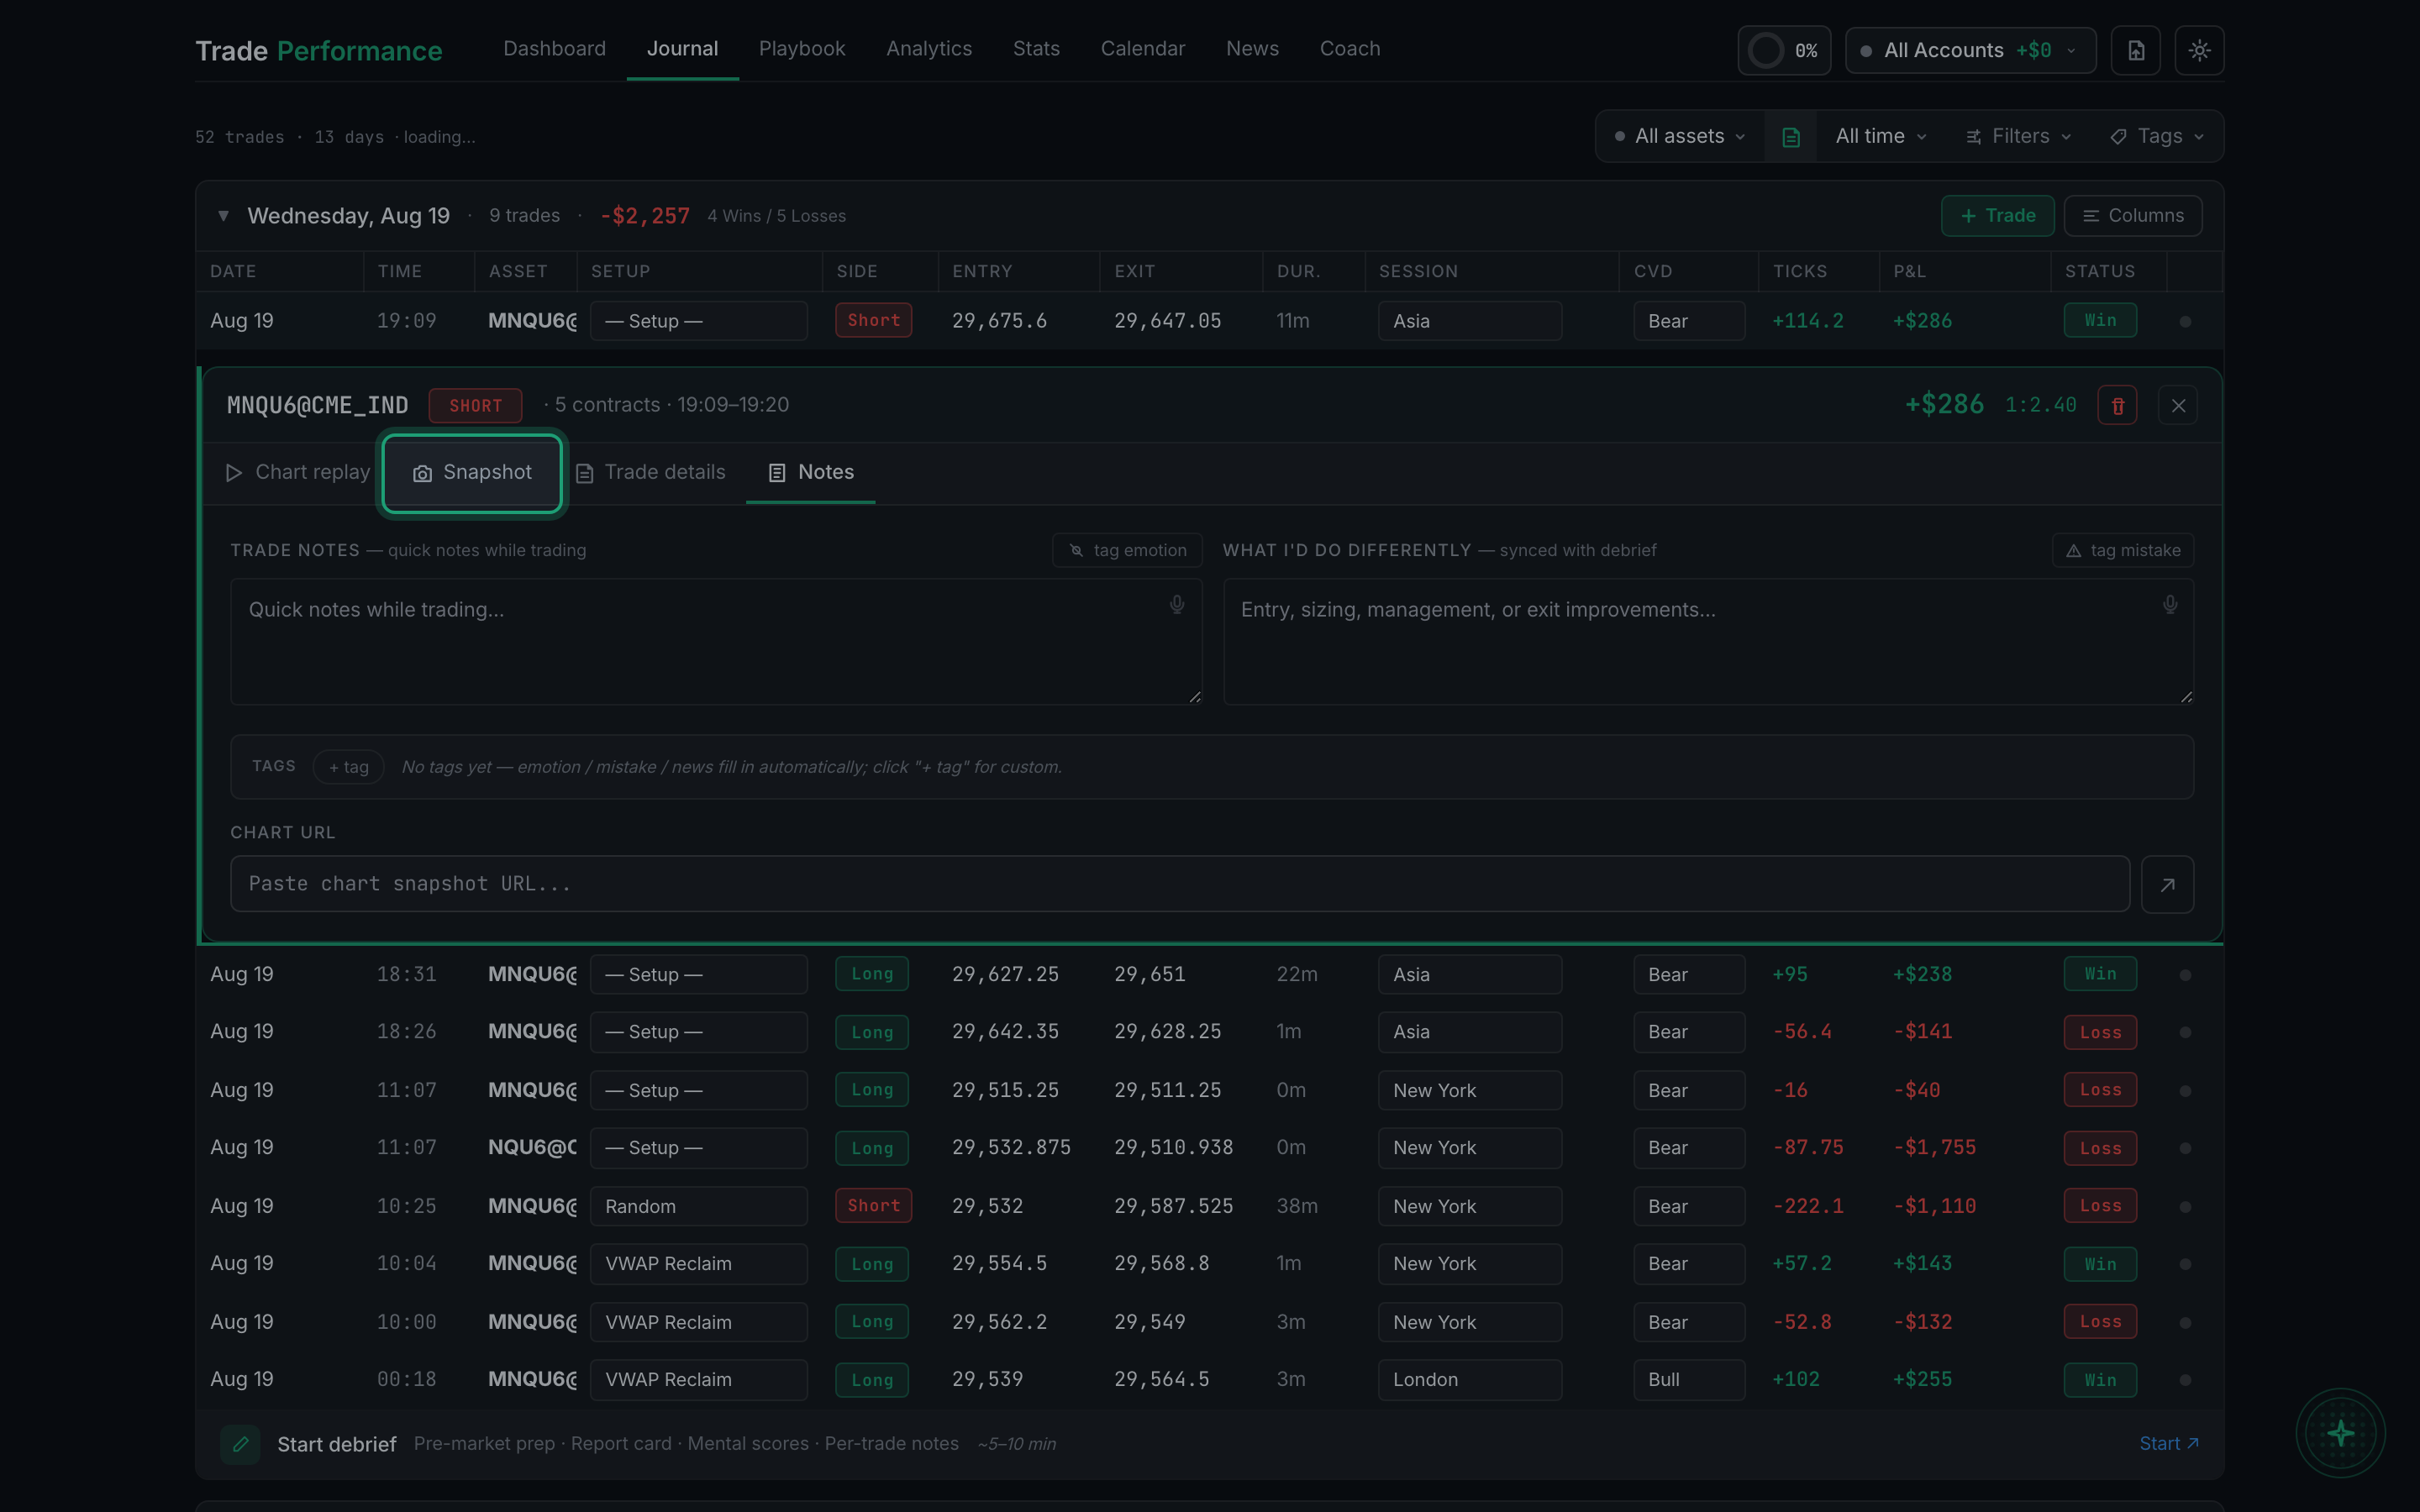
the Snapshot tab selected in the detail panel - To add an image yourself, click Upload and pick a JPEG or PNG. If the image already lives online, paste its address into the Paste image URL field and click Add URL instead — useful for a TradingView snapshot you have already shared.
- Attach as many as you like. Each gets a small numbered tab along the bottom, with a count beside them, so you can keep a multi-timeframe set on one trade and click between them.
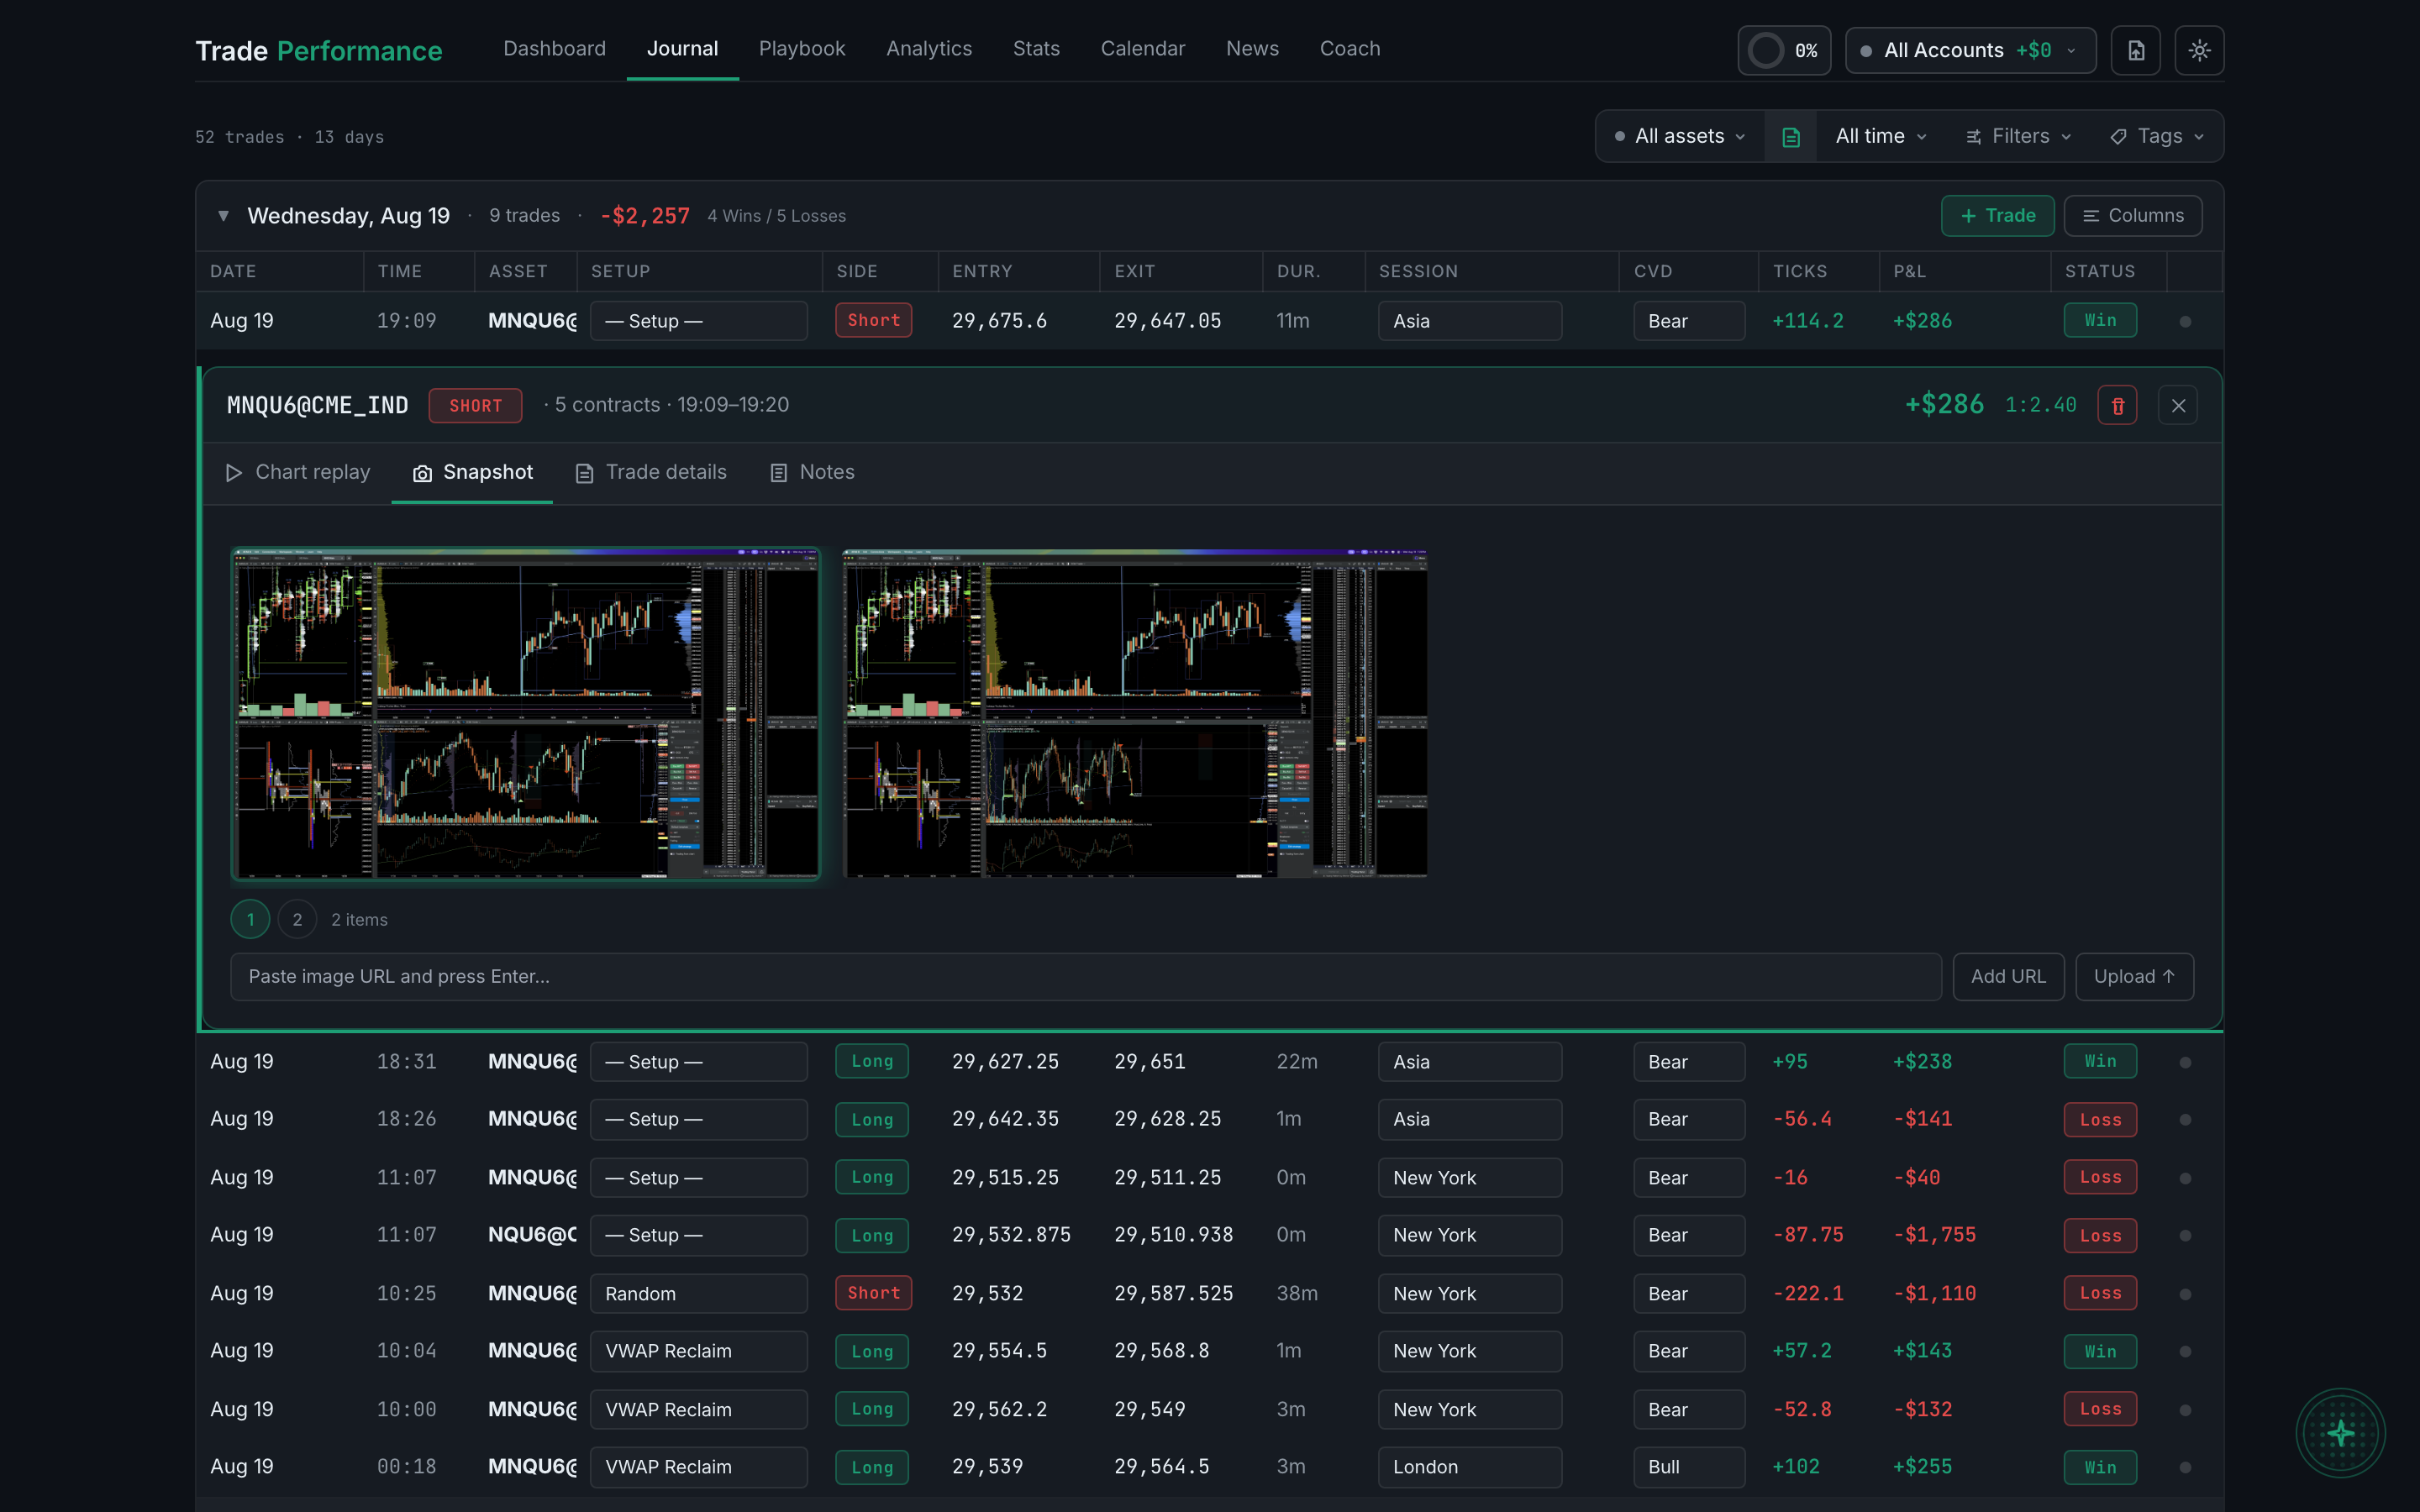
the Snapshot tab showing the numbered attachment tabs and item count - If you have an AI key set up, adding the first image automatically triggers a chart read, which tries to fill in the market context fields for you. That is covered in its own guide.